Fun Backgrounds with Splash Ink

Hi, it’s Tessa from How to Make Art here to show you a fun and easy technique that you can do with Splash Inks.  I love to do this technique in my art journal to create some interesting backgrounds to write or make art on top of.  I hope you will have fun trying it out!

Here’s what you will need:

*Splash Inks
*Water
*Small Atomizer/Spray Bottle for Inks
*Paper Lace Doily
*Loose Paper or an Art Journal

STEP ONE: Fill your atomizer/spray bottle with a little bit of Spash Ink at the bottom.  The Splash Inks are wonderfully concentrated and pigmented, so you won’t need to much of it to create a nice pastel color when mixed with water.

STEP TWO: Fill your bottle halfway with water.  Shake well to mix Splash Ink and water together.

STEP THREE: Arrange your doily on the page wherever you would like it to go.

STEP FOUR: Use your spray bottle with your Splash Ink and water mixture, and gently spray over the doily.  Let dry before removing the doily.

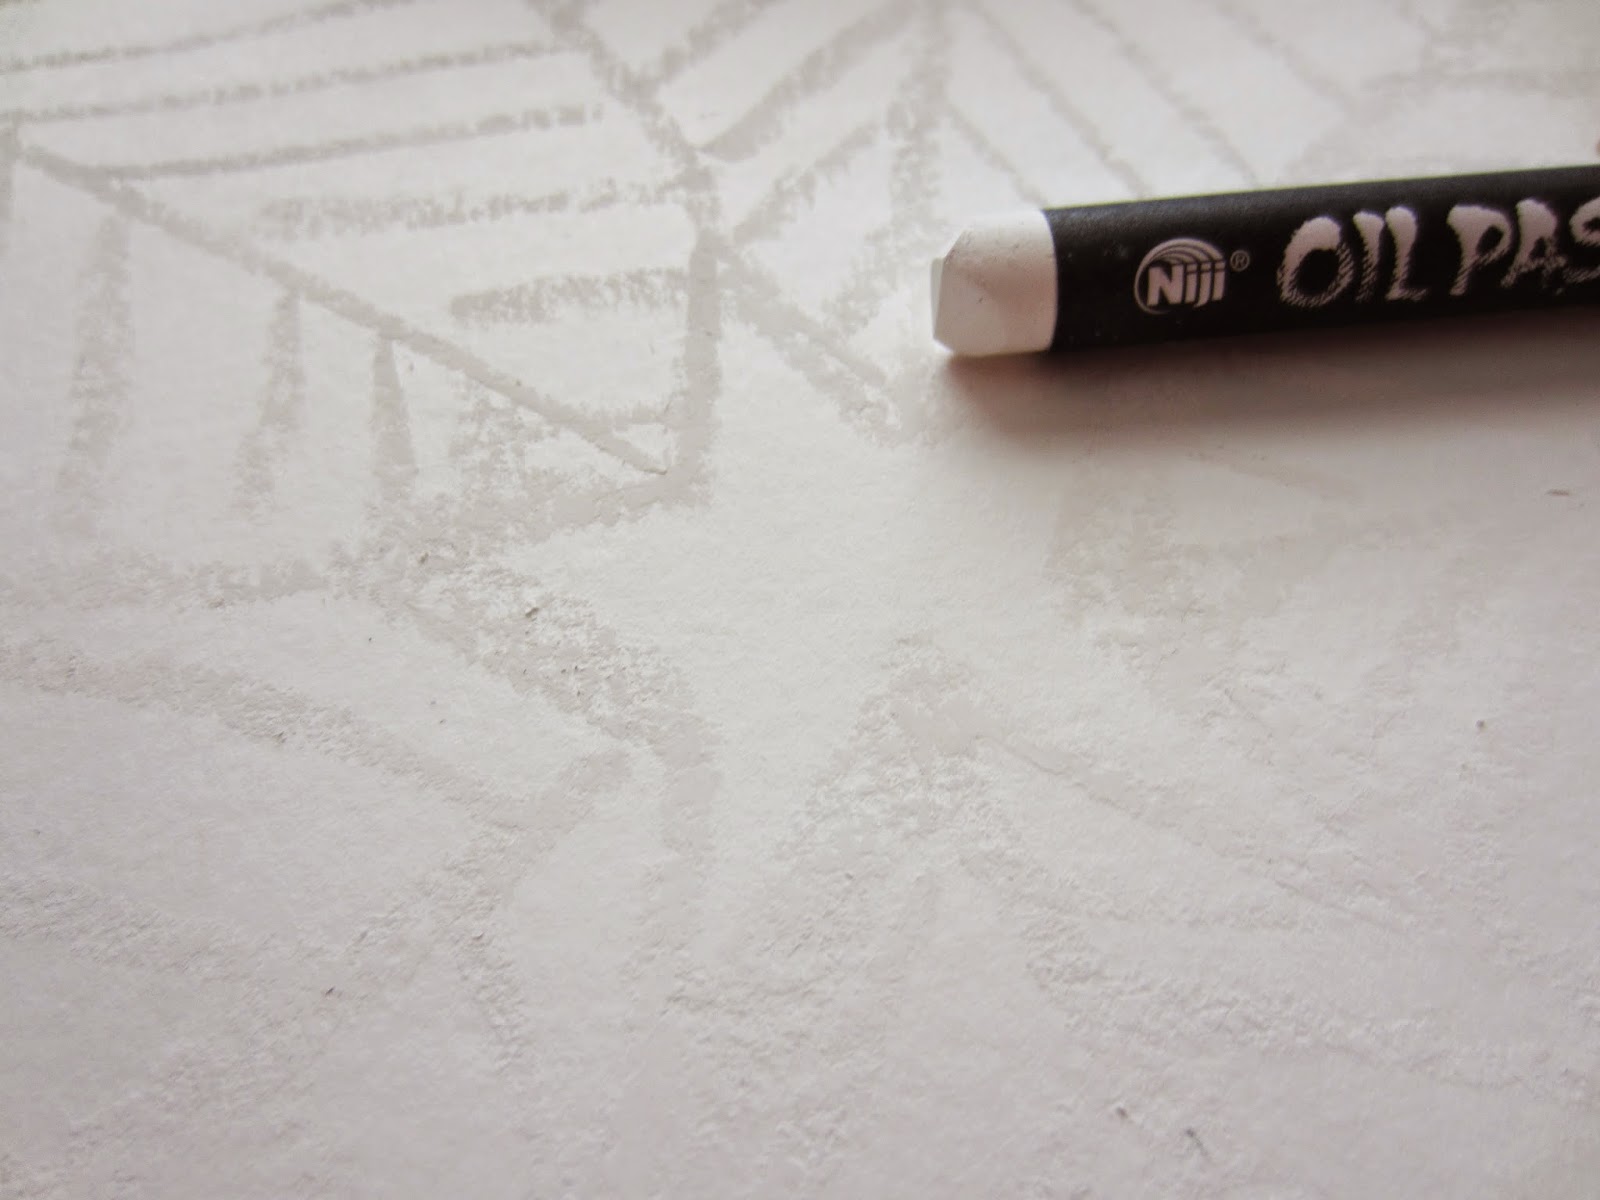
You will be left with the pretty edge patterns from the doily!  So much fun to work on top of…  Here is the finished piece, ready for art or writing:

Happy creating,
Tessa

Coffee Filter Leaves…

My favorite season, fall, is fast approaching! We’ve had some beautiful cooler weather these past few days, and my attention has turned to creating fall themed crafts and layouts. I’m going to show you how to use coffee filters, splash Ink, and chipboard leaf shapes to create gorgeous fall colored leaves!

GE DIGITAL CAMERA

Supplies:

  • Niji Splash Ink
  • Nori Paste
  • Coffee filters
  • Chipboard leaves of various sizes

Begin by wetting down some coffee filters, squeeze the excess water from them, and lay them flat on newspaper or scrap paper.

GE DIGITAL CAMERA

GE DIGITAL CAMERA

Mix up your favorite fall colors with Niji Splash Inks. Using Niji  Waterbrushes, begin dabbing the colors onto the coffee filters. Start with the lighter colors first.

GE DIGITAL CAMERA

GE DIGITAL CAMERA

GE DIGITAL CAMERA

GE DIGITAL CAMERA

GE DIGITAL CAMERA

GE DIGITAL CAMERA

Set the filters aside to dry. Using some white craft paint, base paint the chipboard leaves white so the lightly colored coffee filters will show up when adhered to them.

Once all components are dry, use Nori Paste and attach the leaves to the coffee filters. Lightly press the filters onto the chipboard pieces, allowing them to gently wrinkle, which will give beautiful texture to the final project.

GE DIGITAL CAMERA

GE DIGITAL CAMERA

GE DIGITAL CAMERA

GE DIGITAL CAMERA

GE DIGITAL CAMERA

Allow the leaves to dry before using a craft knife to cut them from the coffee filters. Gently ink the edges of the leaves to add depth, and you’ve got beautiful embellishments for fall projects!

GE DIGITAL CAMERA

GE DIGITAL CAMERA

GE DIGITAL CAMERA

Here’s a layout I used a few of the leaves on, pretty right?

GE DIGITAL CAMERA

I’m very honored to have been a member of Yasutomo’s design team and be featured this month for my final time. I love the products, they never let me down and I will always be a loyal fan. Thank you for reading along!

Thank You Team!

I want to take a moment here to thank all of the talented designers of the Niji Design Team for their beautiful and inspirational posts this past year. It has been an incredible experience seeing the wonderful things being created by this group using Yasutomo products!  All of you have made a lasting impact for our brand and your projects will continue to inspire many.  You will find all of these talented designers projects right here on this blog.

Starting this month we are featuring a guest designer every month so please look out for a new projects and ideas that will inspire you to create!

Yours in Creativity,

Karen Elaine
Yasutomo’s Creative Maven

Oil Pastel Resist

Hi, it’s Tessa from How To Make Art, and today I’d like to show you a fun technique using oil pastels as a resist with watercolors in your art journal.  This is what the finished page will look like:


Here is what you will need:

*Niji Watercolor Set

*Niji Oil Pastels

*Niji Permawriter, .07

*Glue or Gluestick

*Water

*Paintbrush

*Art Journal

STEP ONE: Create a simple drawing in your art journal with some of the oil pastels.  I chose to make a pattern with the white oil pastel.  You can barely see it in this photo, but here it is!

STEP TWO: Mix up your favorite colors of paint by adding some water to a dab of one of the watercolors from the set.
STEP THREE: Using your paintbrush, paint over the areas where you made your pastel drawings.  I love the beautiful effect that the oil pastel resist creates!

STEP FOUR: Add a word like “adventure” to your page using your Permawriter and a piece of scrap paper, then glue it on!

Thanks so much for creating with me today! 🙂

Gypsy Girl

Hello everyone, Swarup here with a mixed media project using Splash Inks, Watercolors and Permawriter.

It’s a picture heavy post..so sit back with a cup of coffee and enjoy!


Supplies:

 Splash inks

Permawriter

watercolors

Unity Stamps- Windows to the soul

watercolor paper 140#cold press

Stamp the image using waterbased ink.

Color using Splash Inks.

Doodle using Permawriter-black.

a closer look ….

Hope you liked it!

Thanks so much for stopping by !

Coloring Outside the Box

Hi, it’s Tessa from How To Make Art, and I’m going to show you a fun new way to color your art pieces today!

Lately, I have been drawing a lot of animals with my Permawriters.  Here are two examples of bears that I drew recently on my Yasutomo and Company Hosho Sketch Paper:

I have been trying to think of new, outside-the-box ways to color in my drawings, so this is what I did while experimenting and painting to color these in:
I used my Yasutomo and Company Sumi-E Watercolor Set, which I am in LOVE with!  The colors are so vibrant and creamy – really fun to use!  For the first one, I added some extra elements outside the picture area, and with the second one, I used giant dots to fill in the picture area.  It was really fun to try something new with my artmaking, and the possibilities for coloring outside the box are truly endless!  I hope you will have fun trying this out in your studio!
Thanks for creating with me!

Making a Spirit Journal

Lately I have been on a journey. I’ve been nurturing my spiritual side more and more, and learning all kinds of things along the way. I thought it would be a wonderful idea to make a spirit journal that I can add notes, drawings, or any little things that remind me of the lessons I learn along the way. This is the start of my journal.

I began with canvas album pages. I used Fluorescent Niji Oil pastel Crayons to make shapes on the canvas pieces.

GE DIGITAL CAMERA

GE DIGITAL CAMERA

Then I mixed up Authentic Chinese Watercolors, and began coloring each of the canvas pages.

GE DIGITAL CAMERA

GE DIGITAL CAMERA

This is just the beginning of my spirit journal, and I will be adding more and more to it as I go. Stay tuned for my next post where I will share more of my project as it develops.

~Rebecca

A CARD WITH SPLASH INKS

I love using my Splash Ink in different ways.  I made this card with some stamps and made a Splash spray on the background.  I colored the stamped butterflies and flowers with Splash Ink too.

To start, I cut some watercolor paper.  Then, I mixed 3 Splash Ink Colors to use.  I picked a navy blue, a true red and a dark green to match the Pastel Yuzen Paper  background.  I loaded a paintbrush with Splash Ink and tapped it with a pencil over the paper.  Then, I stamped the flowers, butterflies and sentiment on top.  Using a very fine paintbrush, I colored in the images and added more dots of color. I finished with my Superfine Black Permawriter, outlining the butterflies.


Have an awesome day!!

xxDaniella

Splash Flowers

Hi, it’s Tessa from How to Make Art here to share a fun project with you that uses Splash Inks.  Here is what the finished piece will look like:

Here is what you will need:
*Niji Splash Inks
*Water in a container
*Paintbrushes
*Yasutomo and Company Permawriters, .07 Black
*Watercolor Paper
STEP ONE: Prep your Splash Ink colors by mixing your desired colors and setting them by your work station.  Get your container of water and paintbrushes, and coat your entire sheet of paper with the water:
STEP TWO: Now it’s time to play with the Splash Ink colors you have mixed up!  Use your brush and slowly lay down a few dots of ink into your coating of water before the water dries.  I used a red toned Splash Ink first, then a purple:
STEP THREE: Next, I added some green for leaves and a block of green on the left that I could use to write a quote.
STEP FOUR: Let dry completely.  Now use your Permawriters to draw some details and write a quote in the block you created in Step Three.  I chose one of my favorite quotes by Anais Nin.
Thanks for reading! Have fun making some Splash Ink flowers!